Introduction
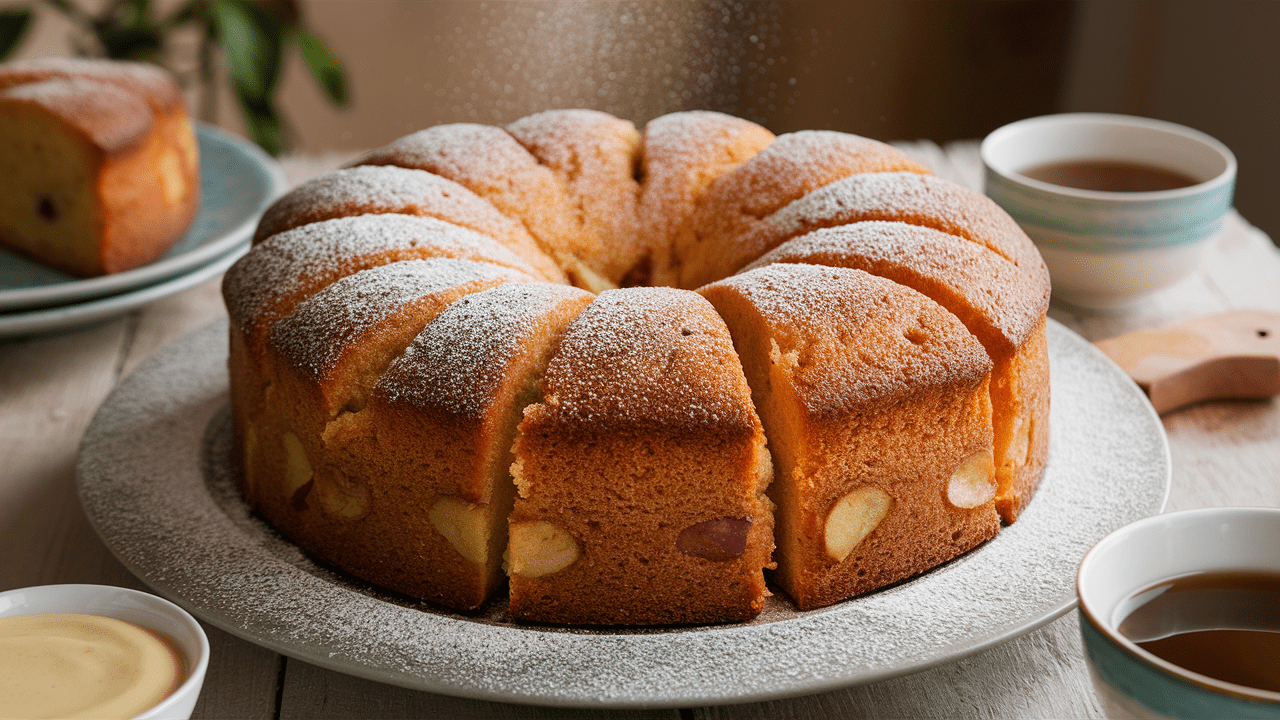
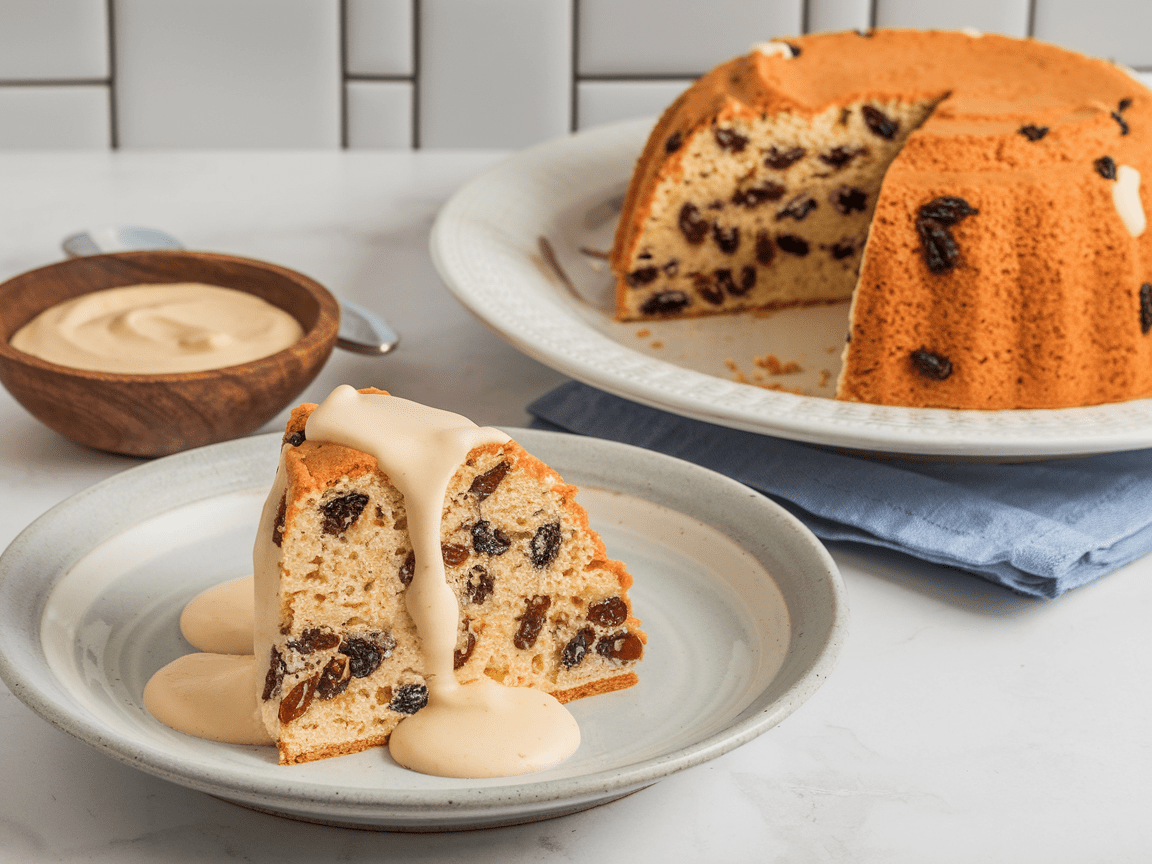
Picture the happiness of savoring a queen cake complemented flawlessly with your midday tea. These petite indulgences embody a blend of simplicity and enduring grace promising to add a regal flair to your tea break. This Queen Cakes recipe is exceptionally tasty and simple to prepare.
History
Queen cakes have a history dating back, to the United Kingdom. Legend has it that they were named after Queen Victoria showcasing the custom of savoring dainty cakes alongside tea. In contrast to fairy cakes that’re fluffy and light queen cakes have a bit heft ideal, for dipping into a steaming cup of your preferred brew.
Serving Suggestions
These delightful queen cakes are wonderfully versatile and can be served in a variety of ways:

- Classic Tea Pairing: Serve with a pot of your favorite tea, perhaps a fragrant Earl Grey or a robust English Breakfast.
- Fruit Garnish: Top with fresh berries or a dollop of lemon curd for a burst of flavor.
- Elegant Dessert: Dust with powdered sugar and serve with a side of clotted cream or a scoop of vanilla ice cream for a more indulgent treat.
- Decorative Touch: Add colorful sprinkles or edible flowers for a festive and visually appealing presentation.
Storing Instructions
To keep your queen cakes fresh:
- Refrigeration: Store in an airtight container at room temperature for up to three days.
- Freezing: For longer storage, place the cooled cakes in a freezer-safe container or zip-lock bag and freeze for up to three months. Thaw at room temperature before serving.
Reheating Instructions
Reheating queen cakes is simple and keeps them as delightful as when they were first baked:
- Oven Method: Preheat your oven to 160°C (320°F). Wrap the cakes in aluminum foil and place them on a baking sheet. Warm for about 10 minutes or until heated through.
- Microwave Method: Place a cake on a microwave-safe plate and cover with a damp paper towel. Microwave on medium power for 20-30 seconds, checking for warmth.
Looking for more delightful recipes to try? Check out our collection of scrumptious desserts and teatime favorites to satisfy your sweet tooth and impress your guests!
Conclusion
We hope these charming queen cakes bring a touch of tradition and delight to your home. Share your baking experience and any creative twists in the comments below! Don’t forget to subscribe to our newsletter for more delicious recipes and teatime treats. See the recipe below!
How to Make Queen Cakes Recipe
Yum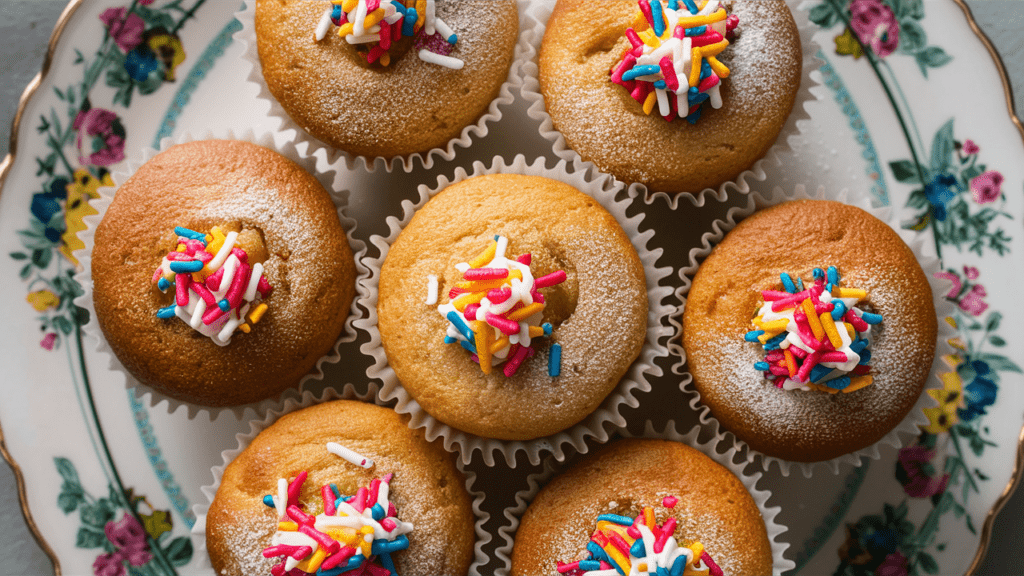

Queen Cakes Recipe: A Royal Treat for Your Teatime Delight
Description
Queen cakes are charming little treats that perfectly blend the richness of butter and the sweetness of sugar, all wrapped up in a tender, slightly dense texture. These cakes are a beloved staple in British baking, named in honor of Queen Victoria. Ideal for afternoon tea or a special occasion, these cakes are easy to make and even easier to enjoy. With a simple yet delightful flavor, they can be dressed up with sprinkles or fresh fruit, making them versatile enough for any gathering. Bake a batch today and bring a touch of royalty to your table!
Ingredients
Instructions
-
Preheat your oven to 180°C (350°F). Line a muffin pan with cupcake liners and set aside.
-
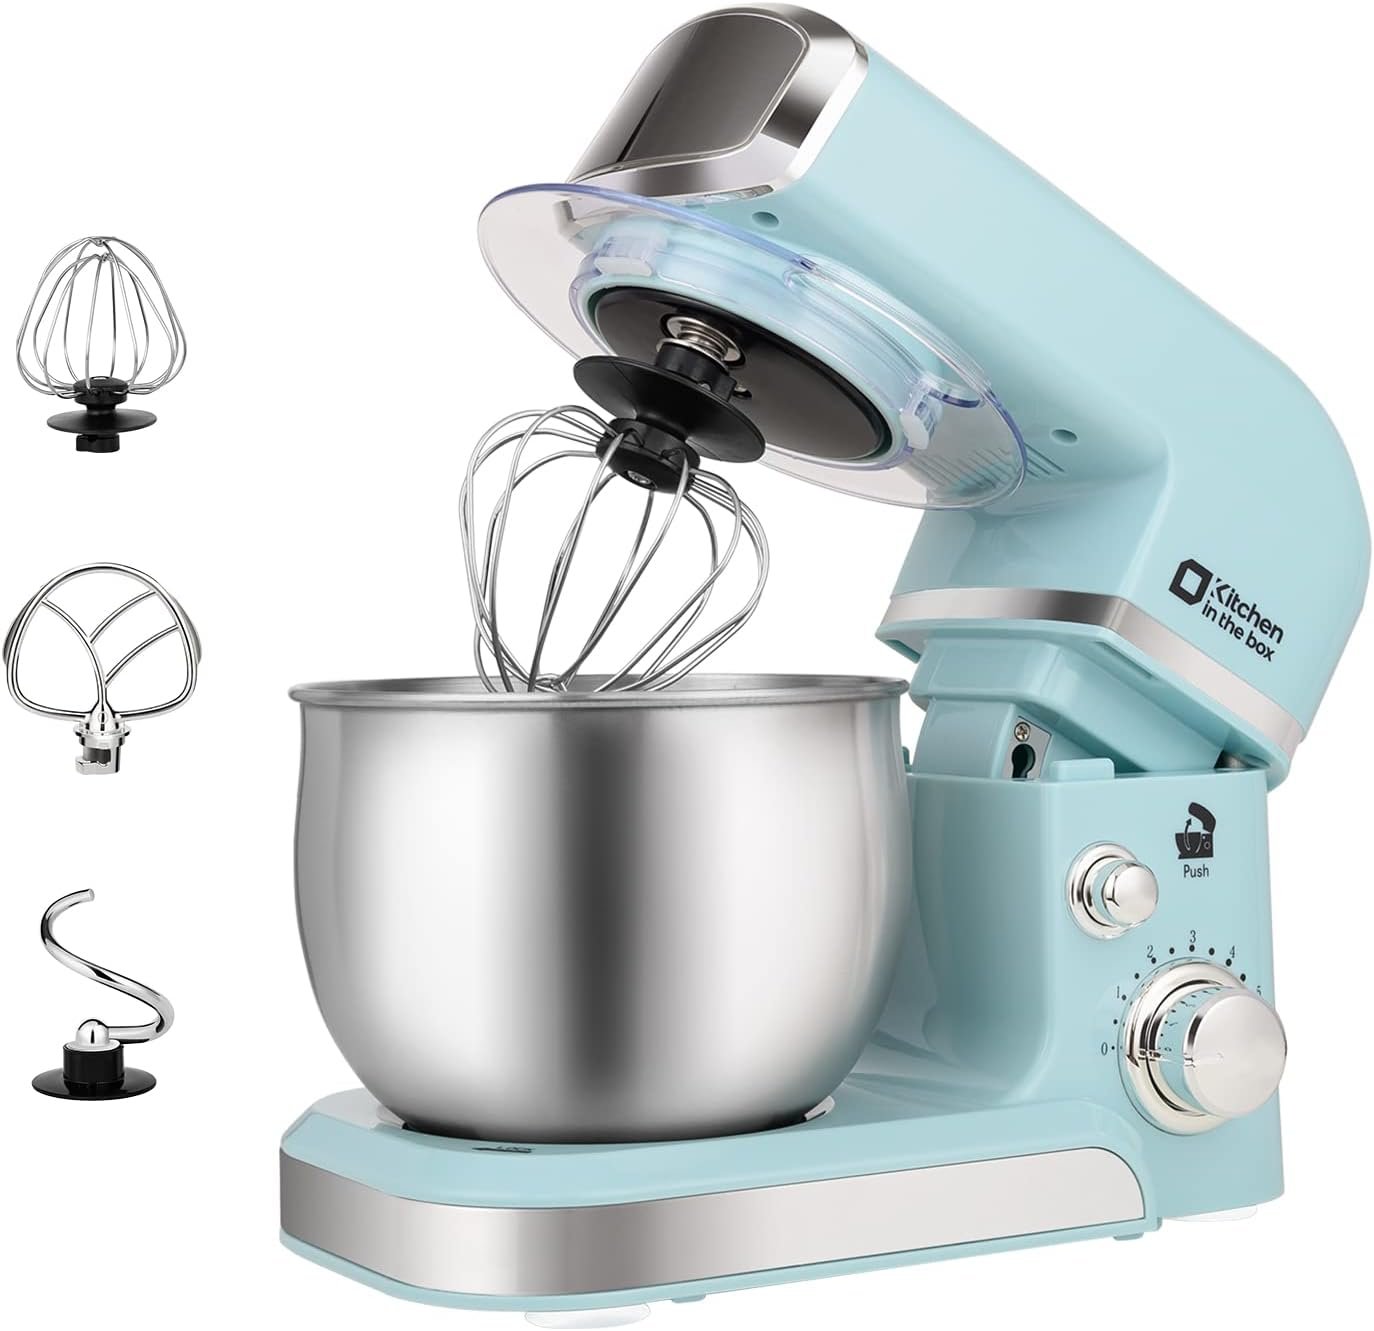
Using an electric mixer, beat the butter and sugar together for about 4 minutes until light and fluffy.
-
Mix in the vanilla essence. Add the eggs one at a time, beating well after each addition until fully combined.
-
Sift the cake flour and baking powder together. Gradually fold the dry ingredients into the butter mixture using a spatula, just until combined.
-
Mix in the warm milk until the batter is smooth. Be careful not to overmix.
-
Half fill each cupcake liner with the batter. Use a wet spoon to smooth the tops if desired. Add sprinkles on top if using.
-
Bake in the preheated oven for about 20 minutes or until the cakes are golden brown and a toothpick inserted into the center comes out clean.
-
Allow the cakes to cool in the pan for a few minutes before transferring them to a wire rack to cool completely.
Equipment
This article may contain affiliate links, and Great Food Ireland may earn a commission from qualifying purchases at no extra cost to you.
Nutrition Facts
Servings 12
- Amount Per Serving
- Calories 180kcal
- % Daily Value *
- Total Fat 9g14%
- Saturated Fat 5g25%
- Cholesterol 55mg19%
- Sodium 100mg5%
- Total Carbohydrate 22g8%
- Sugars 12g
- Protein 3g6%
* Percent Daily Values are based on a 2,000 calorie diet. Your daily value may be higher or lower depending on your calorie needs.
Note
These queen cakes are best enjoyed fresh but can be stored for later indulgence. Customize them with your favorite toppings or fillings for a unique twist. Perfect for parties, afternoon tea, or a sweet snack any time of day!