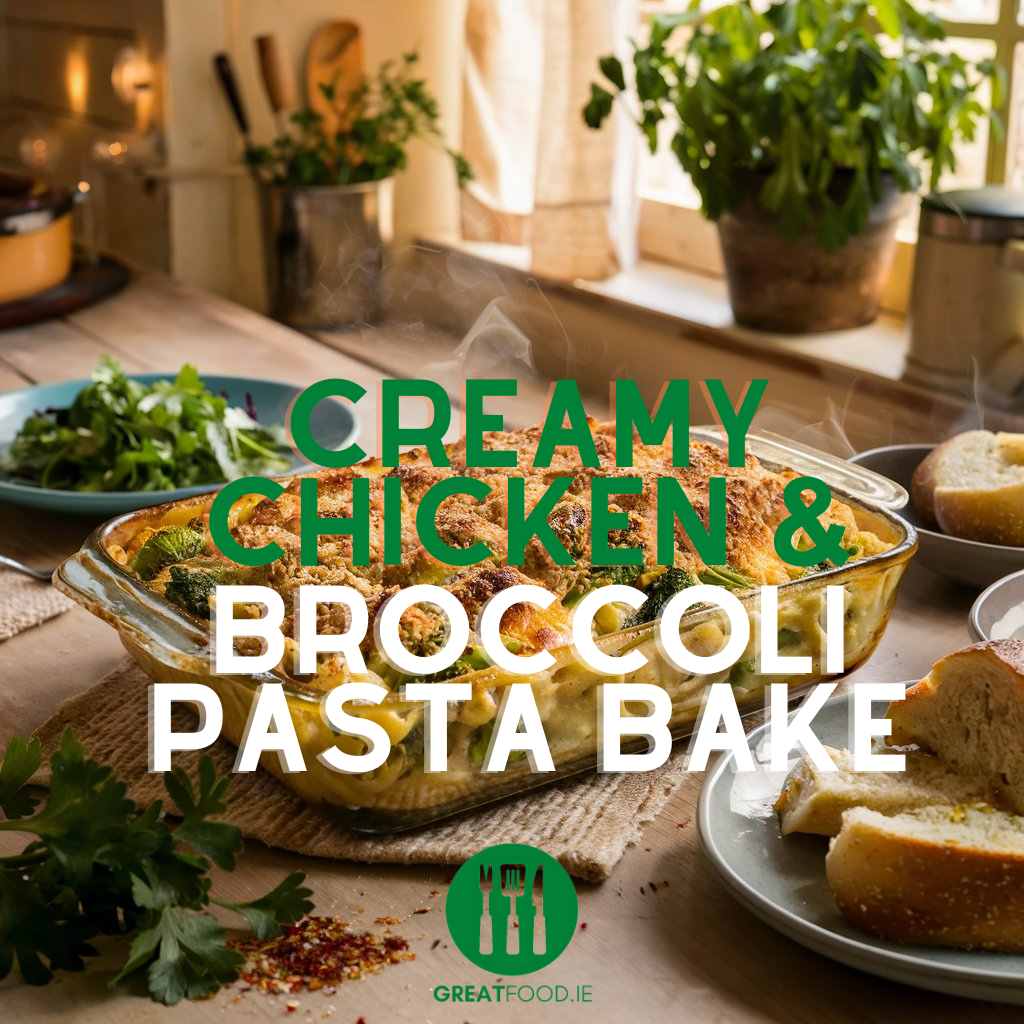
Welcome to a delightful journey into the heart of Irish cuisine with this traditional Irish Brown Bread recipe. Known for its rich, nutty flavor and dense texture, this bread is a beloved staple in Irish households. Whether you’re a seasoned baker or a novice in the kitchen, this recipe is straightforward and rewarding, promising a loaf that is both wholesome and delicious.
History
Irish Brown Bread has been a cornerstone of Irish culinary tradition for centuries. In the past, it was more commonly consumed than white bread due to the affordability and availability of whole wheat flour. The use of oats and whole wheat flour not only gives the bread its characteristic texture and flavor but also makes it a nutritious choice. Traditionally baked in homes across Ireland, this bread often graced the table alongside hearty soups, stews, and a generous spread of butter.
Serving Suggestions
This versatile bread can be enjoyed in numerous ways. Here are a few ideas to get you started:


- Classic Breakfast: Serve slices with a generous spread of Irish butter and your favorite jam or honey.
- Hearty Meal Companion: Pair with soups and stews for a filling and satisfying meal.
- Cheese and Charcuterie: Create a rustic cheese board with slices of Irish Brown Bread, assorted cheeses, cured meats, and pickles.
- Toast Delight: Toast slices and top with avocado, a sprinkle of sea salt, and a dash of black pepper for a modern twist.
Storing Instructions
To keep your Irish Brown Bread fresh:
- Room Temperature: Store in an airtight container or bread box for up to three days.
- Refrigeration: If you prefer, you can refrigerate the bread, but it is best consumed within five days to maintain its texture.
- Freezing: For longer storage, freeze the bread. Slice it before freezing so you can thaw only what you need. It will keep well for up to three months in a freezer-safe bag or container.
Reheating Instructions
To enjoy your Irish Brown Bread as if it were freshly baked:
- Oven: Preheat your oven to 180°C (350°F). Wrap the bread in aluminum foil and bake for 10-15 minutes.
- Toaster: For individual slices, use a toaster. If frozen, let the slices thaw for a few minutes before toasting.
Conclusion
We hope you relish making and savoring this traditional Irish Brown Bread. Its wholesome ingredients and straightforward preparation make it a joy to bake and share with loved ones. We’d love to hear how your loaf turned out! Share your experiences in the comments below, and don’t forget to subscribe for more delightful recipes and culinary tips.
Explore our collection of delightful recipes and find your next favourite dish. Discover more now!
How to Make Irish Brown Bread
Yum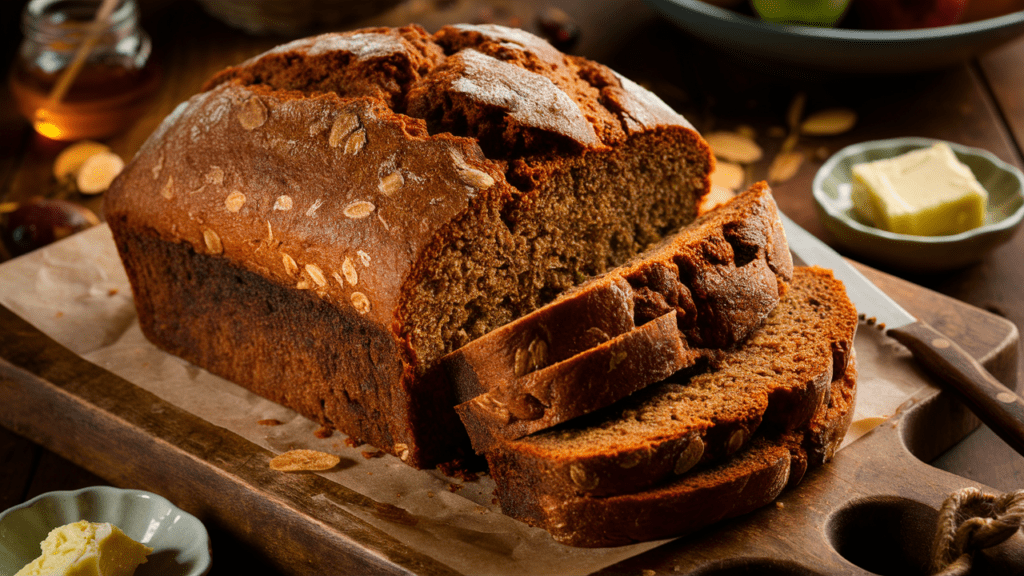

A Taste of Tradition: Irish Brown Bread Recipe
Description
Discover the wholesome goodness of Traditional Irish Brown Bread. This classic recipe combines whole wheat flour, rolled oats, and a touch of molasses to create a dense, flavorful loaf that's perfect for any meal. Whether enjoyed with butter and jam for breakfast or as a side with hearty soups and stews, this bread is a versatile and nutritious addition to your table. Easy to make and filled with authentic Irish charm, it's sure to become a favorite in your baking repertoire.
Ingredients
Instructions
Preheat the Oven:
-
Preheat your oven to 180°C (350°F). Grease a loaf pan with melted butter and line the bottom with parchment paper.
Prepare Dry Ingredients:
-
In a large mixing bowl, whisk together the whole wheat flour, all-purpose flour, rolled oats, baking soda, salt, and wheat germ.
Combine Wet Ingredients:
-
In a separate bowl, whisk together the buttermilk, molasses, honey, melted butter, and egg (if using).
Mix the Dough:
-
Make a well in the center of the dry ingredients and pour in the wet mixture. Stir until just combined. The dough will be sticky and wet.
Transfer to Pan:
-
Pour the dough into the prepared loaf pan. Smooth the top with a spatula and sprinkle extra rolled oats on top.
Bake:
-
Bake in the preheated oven for 45-50 minutes, or until a skewer inserted into the center comes out clean.
Cool:
-
Allow the bread to cool in the pan for 10 minutes, then transfer to a cooling rack to cool completely before slicing.
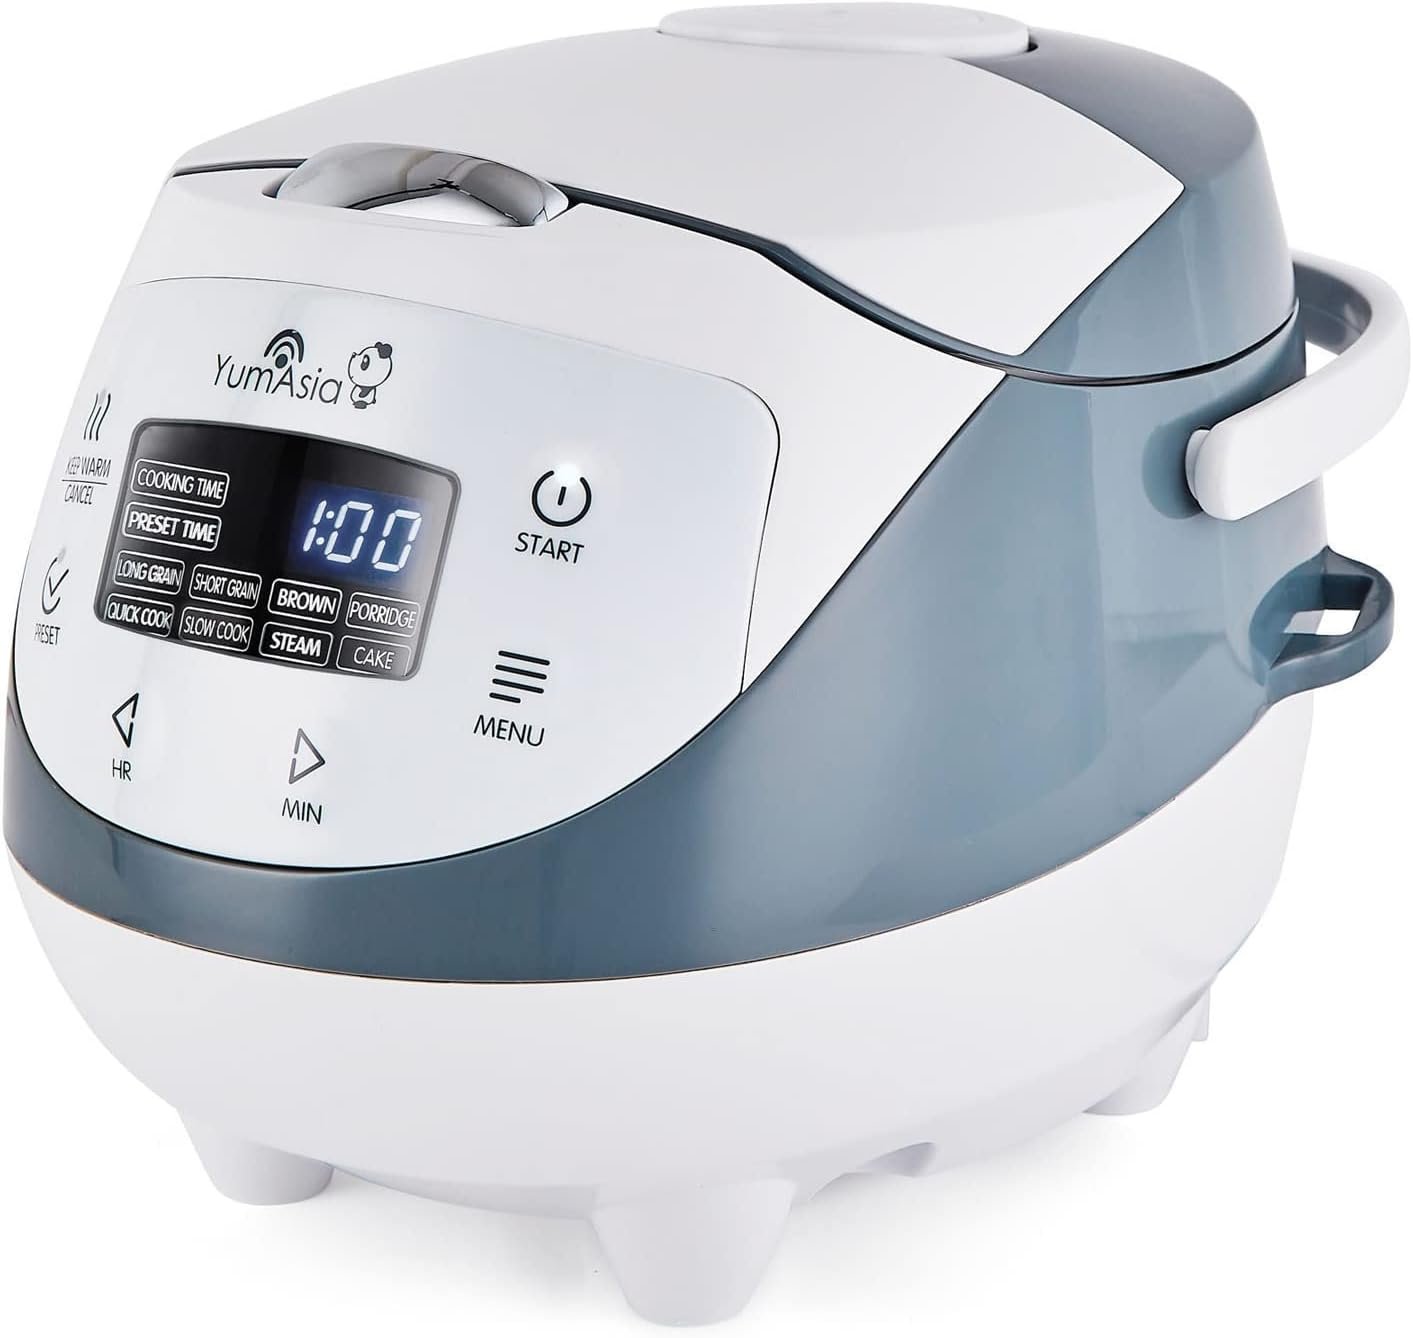
Equipment


This article may contain affiliate links, and Great Food Ireland may earn a commission from qualifying purchases at no extra cost to you.
Nutrition Facts
Servings 12
- Amount Per Serving
- Calories 200kcal
- % Daily Value *
- Total Fat 4g7%
- Saturated Fat 2g10%
- Cholesterol 20mg7%
- Sodium 240mg10%
- Potassium 120mg4%
- Total Carbohydrate 38g13%
- Dietary Fiber 5g20%
- Sugars 6g
- Protein 6g12%
- Vitamin A 100 IU
- Calcium 80 mg
- Iron 2 mg
- Vitamin E 0.5 IU
- Vitamin K 2 mcg
* Percent Daily Values are based on a 2,000 calorie diet. Your daily value may be higher or lower depending on your calorie needs.
Note
- For a nuttier flavor, you can add 1/4 cup of chopped nuts such as walnuts or pecans to the dough.
- If you prefer a sweeter loaf, increase the amount of honey or molasses by 1 tablespoon.
- To make this bread dairy-free, substitute the buttermilk with a mixture of 500 ml of plant-based milk and 2 tablespoons of vinegar or lemon juice.
- The egg in this recipe is optional; it adds richness but can be omitted for a vegan version.
- Ensure the bread is fully cooled before slicing to maintain its structure and prevent crumbling.